DIY Broken Jewelry Making Your Recycled Jewelry Amazing
DIY Broken Jewelry transformed into a beautiful bracelet will make a very special one of a kind gift for anyone on your list. It will mean even more that you made it.
This post contains affiliate links. If you click through and make a purchase, I may receive a commission (at no additional cost to you.) Direct links to the supplies and tools I used are highlighted in blue for your convenience.
My sister sends me little gifts frequently – just because. It’s fun to open them and find something you always wanted but couldn’t or didn’t think to buy for yourself. I would love to send her gifts but being on a tight budget, I can’t always buy little pretties for her. However, since I am in the business of making jewelry I can make her pieces that are more meaningful to her because I handmade them.
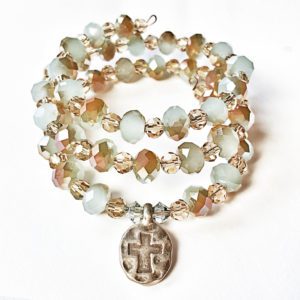
I also work in a boutique that gives me their broken jewelry. They are jewelry making treasures for me. Some of the stones are amazing. I have been saving one particular necklace to make matching sister bracelets for us. I used the beads from the necklace plus hanging charms from other broken pieces and put them on memory wire.
Start by collecting your treasures!
You can do the same by collecting old and broken jewelry. I’m sure there are pieces you have buried away that you love the stones but not the style anymore. Remake them! I love garage and estate sales. You can find some good DIY jewelry potential pieces among the junk. How fun it is to explore the possibilities.
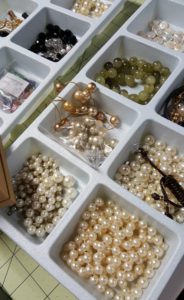
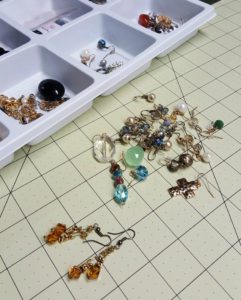
Gather up all necklaces, bracelets and earrings you want to make new. Get trays that have little compartments. Remove all the stones. Make separate piles of stones with colors that compliment each other. Maybe you don’t have enough at the moment for a complete piece so save them in your trays and add to them as you go along.
Plan your design.
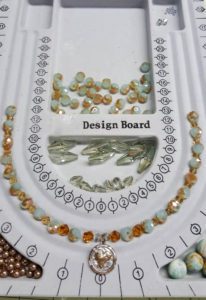
It’s good to use a bead design board. There are grooves with measurements that will help you with sizing. You can play around with your color combinations and bead sizes before committing to placement on the wire.
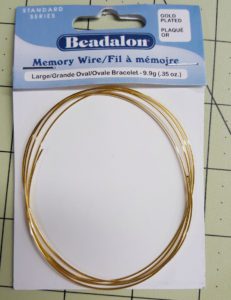
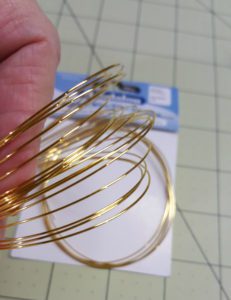
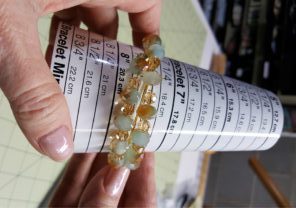
Beadalon Gold Oval Memory Wire
I made my bracelets using memory wire. It’s the best. You can buy it in silver or gold. When the package is opened it looks like the old slinky’s. There is more than enough to make a few bracelets depending on how many times you want it to wrap around the wrist. My sister is conservative so I made hers a single wrap around. I like to make a statement. I want people to see me coming! So mine wraps around three times. It’s always better to cut off more than you need. The beads will take up some width. You also want to be sure that the two ends overlap about two inches when done so that when it’s on the wrist there are no open gaps on the back.
Use the correct tools.
When snipping off stones from an old piece or cutting the memory wire, never use regular jewelry wire cutters. You need something heavier. I bought high level cutting pliers meant for cutting electrical wires. Which are also really handy to have in your household tool box anyway.
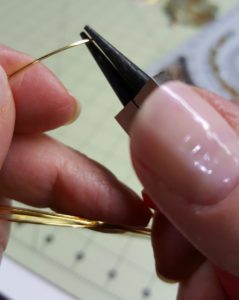
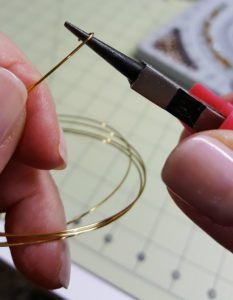
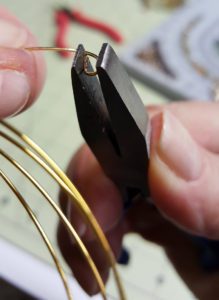
High Leverage End Cutting Pliers
Use a pair of round nose jewelry pliers to grip one end of the memory wire. Twirl the wire around the pliers to make a small circle. It is hard to do. I struggle with it a lot. But I will also use my flat nose jewelry pliers and work more with the wire to coax it into a nice flat round circle.
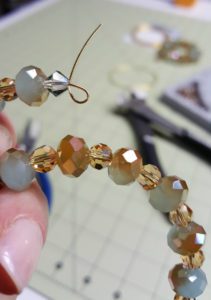
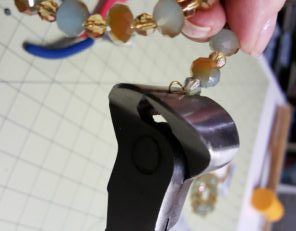
When you’re getting to the end try to measure it as best you can before trimming the last end. When you do cut, still leave a couple inches and curl the circle as close to the last bead as possible. It’s okay if there’s some wiggle room. Beads are meant to jiggle on the wrist. When you are satisfied with the circle trim the wire down.
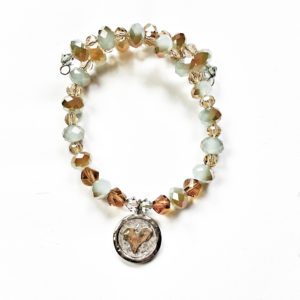
You now have made a beautiful DIY jewelry beaded bracelet that you can be proud to wear or give as a loving gift!
These are the bracelets I made. Mine is the triple wrapped. Told you! I do everything big!

Want to receive more free tutorials and fashion tips?
Sign up below to learn how to show your own style!

OMG! You make this look and sound so easy. These both are pretty and the color combinations are perfect to wear with anything. Your sister is one lucky girl! Thanks for a great tutorial.
Always my greatest supporter!!! Thank you!
Can’t wait to see your NEW project!!!