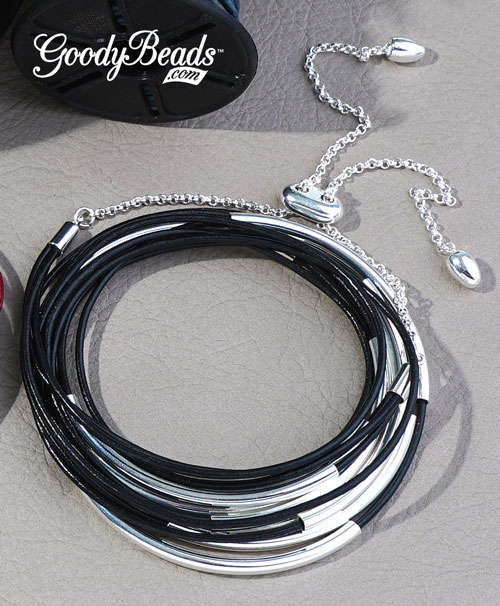
Make your own Leather Wrap Bracelet
This tutorial for how to make a beautiful leather wrap bracelet comes from a company, Goody Beads, that I use for my own jewelry making business. They have given me permission to share this on my blog. And, no, this is not an affiliate link. I’m just sharing because I really, really love this bracelet.
Leather cord and sliding clasp hit all the latest trends.
This simple project will give you leather bracelet inspiration for different variations to try.
The popular size is a must-have for your leather projects.
All you need to make your own bracelet are leather cord, curved tubes and adjustable sliding clasp.

Goody Beads Leather Wrap Tutorial
Here are components you will need to make the wrap bracelet:
- 1.5mm Leather Cord
- 50mm Curved Tubes (A014097)
- 3mm Barrel End Cap (A010432/A010433)
- Bracelet Sliding Clasp (Z012510/ Z012511/ Z012512/ Z012513/ Z012176/ Z012678)
- Super New Glue
OR - Clasp optional: 2 jump rings and clasp of choice.
Tutorial
- Measure your wrist length and multiple that by 3 and subtract 2 inches.
- Cut leather cord to 3 equal lengths to your measurement from step 1.
- Take an end from each of your 3 leather cords and pinch them.
- Add a drop of Super New Glue to your end cap and slide the cord ends into the end cap. Let it dry for a few minutes for it to set.
- Slide curved tubes onto your leather cords. You can add as many tubes you want to each leather cord.
- Add a drop of Super New Glue to the other end cap and slide the other three ends into the end cap. Let it dry for a few minutes.
- Open the jump ring of your sliding clasp and slide on end cap loop. Close jump ring.
- Repeat to other jump ring and end cap.
- Complete!
As an option, you can add your own choice of clasp with a jump ring or split ring instead of the sliding clasp.
